Going Serverless — Part 2
This is the second article in this series. The first article explains how to set up a serverless project locally. If you haven’t already, please read it first.
In this article, I’m going to explain how to deploy the API that we built to AWS with CI.

Before start, you need to make sure that
- You have an AWS account. If you don’t have one, please create an account in AWS.
- You have your code in a remote repository. For this example, I’m using this code from GitHub.
Before getting started with AWS settings, we will create a file that instructs AWS on how to build the project. Create a file named “buildspec.yml” in the project’s root folder and paste the following:
version: 0.2

phases:
  install:
    runtime-versions:
      nodejs: 14
    commands:
      - npm install -g serverless
  pre_build:
    commands:
      - npm install
  build:
    commands:
      - serverless deploy
This file tells AWS to install NodeJS 14, then install serverless globally, and then deploy it.
Now that we are ready, log in to AWS account. Before setting up our CodeBuild project, we need to create a role. Search “iam” from the top search bar. From the left menu, select “Roles” and click “Create role”
The first step is to add the type. Select “AWS service” and select Lambda.

Next step is to set permissions — search and select AdministratorAccess

Tags section — you can skip this section
Review section — you need to add a name to the role and click on “Create role”. Now you are ready to create the CI with CodeBuild. Search “CodeBuild.” from the top search bar and go there.

Click on the orange button that reads “Create Build Project”

The next page has a couple of sections:
Project Configuration — This is basically to identify the project. Add a name and a description.
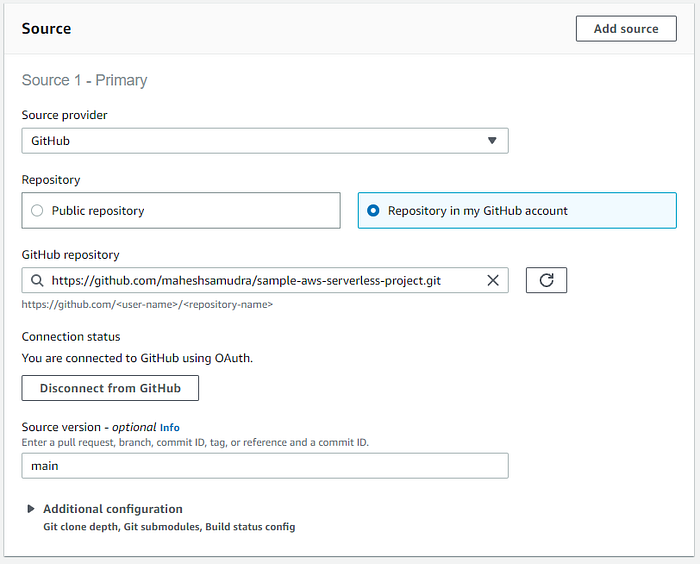
Source — This is where you link your remote repository. For my project, I’m selecting GitHub. Then, make sure you have Connect using Oauth selected and click on “Connect to GitHub” to grant read-only access. Once connected, You can search and select the repository.
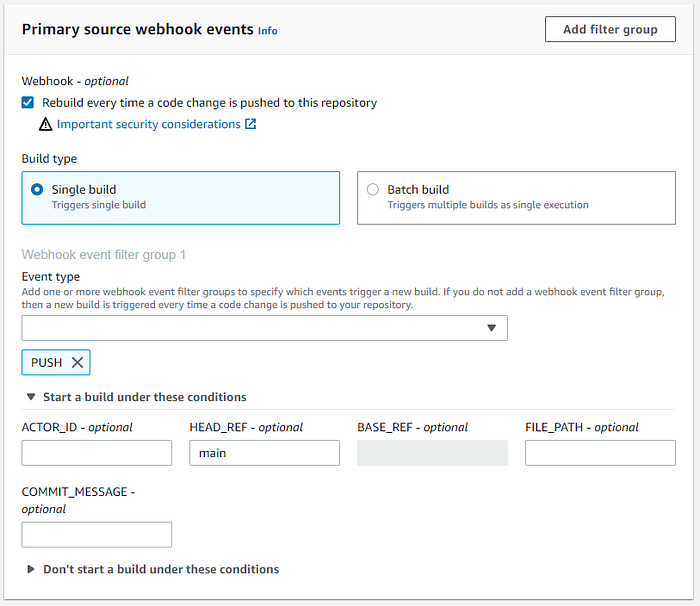
Primary source webhook events — This is the section where you enable CI. For this project, I’m setting it up so that this will build and deploy the project for each push made to the “main” branch.
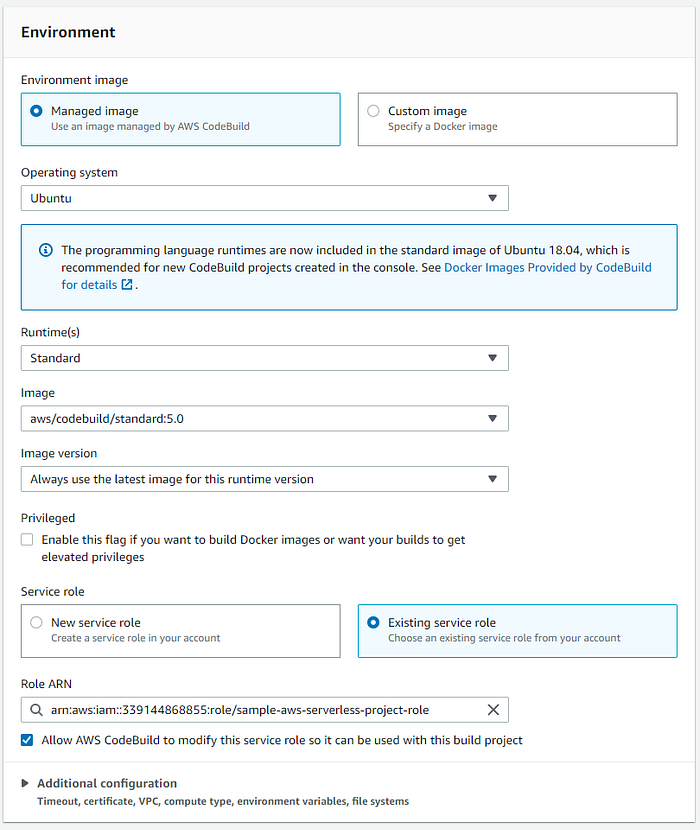
Environment — This is the section to select the environment that builds and deploys the code. In the role name, make sure to select the role that we created.
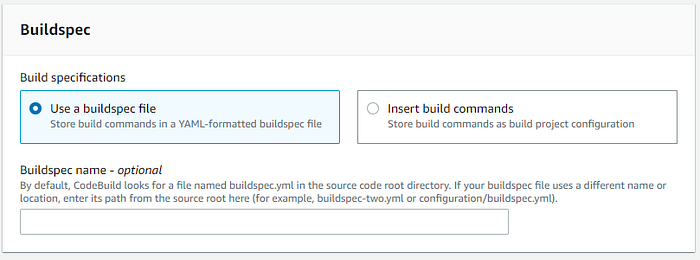
Buildspec — Select “Use a buildspec file” and keep others as they are. This will tell CodeBuild to use the buildspec.yml file that we created.
Batch Configuration — No need to change anything for now.
Artifacts — No need to change anything for now.
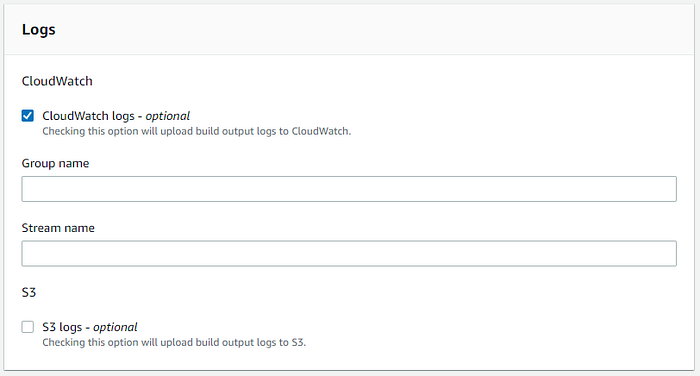
Logs — Keep the “CloudWatch logs ” checkbox checked.
That’s it. You have successfully created your CI build for the serverless project. On the next page, click on “Start Build” and it will deploy your project.
Once the build is complete, go to Build Logs and scroll all the way to the bottom. There, you will see the endpoints for your two functions.

That’s it. You have successfully deployed the project. Every time you push new changes to the “main” branch, AWS CodeBuild will build the project and update these endpoints.
The code related to this article is available on GitHub.